Carving guide · DIY stencil
How to Make a Pumpkin Stencil from a Picture
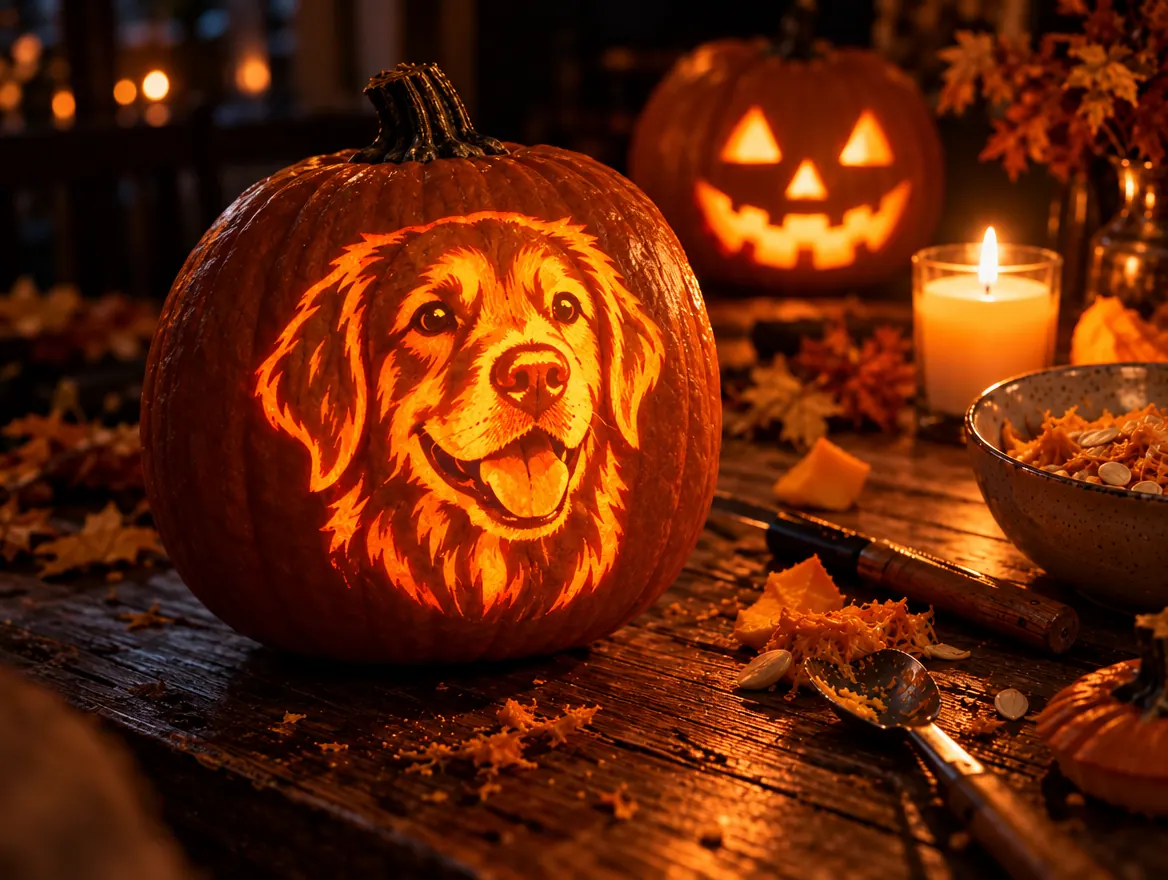
To make a pumpkin stencil, pick a clear photo, turn it into two tones (black to cut, white to keep), connect every floating white piece with a bridge, and print it at your pumpkin size. A free online maker does all four steps in seconds; by hand it takes about 20 minutes.
Updated · by the PumpkinStencil team
The fast way: use the free maker
Upload a photo below. Classic mode traces it in your browser for free with no sign-up. AI mode redraws your pet or face as clean carving shapes. Both check for pieces that would fall out and export a PDF sized for your pumpkin.
Download options appear after your stencil is ready
The by-hand way
STEP 1
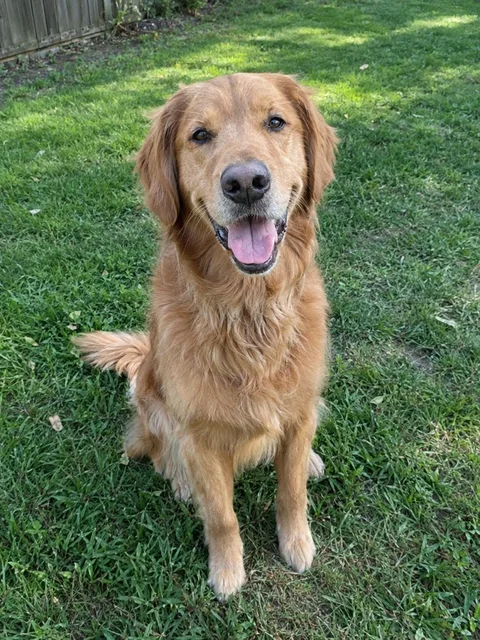
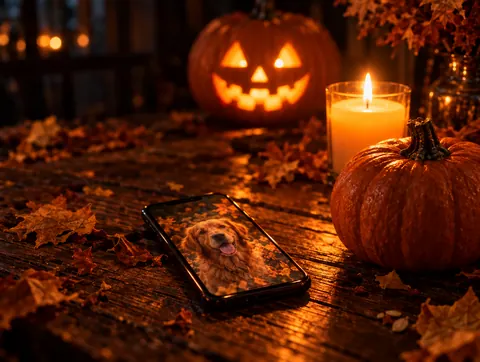
Choose a photo that will carve well
One subject, facing the camera, plain background, strong light from one side. Close-ups of faces work far better than full-body shots.
STEP 2
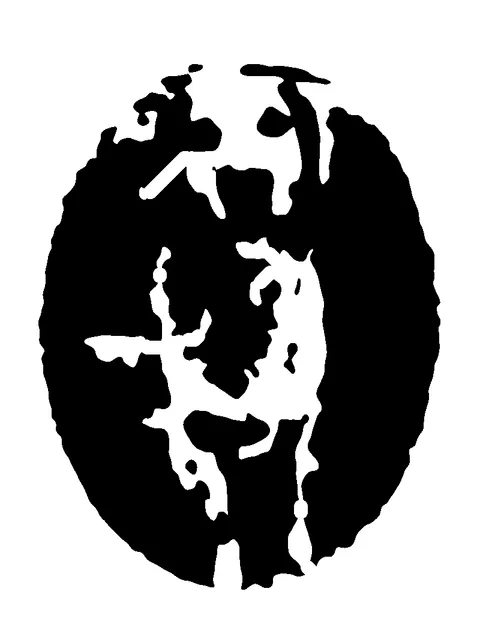
Simplify into two tones
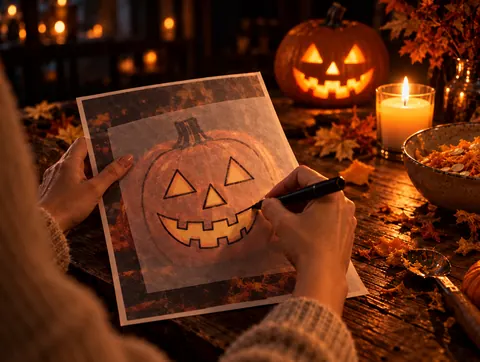
Print the photo in black and white, place tracing paper on top and fill in the darkest areas with a black marker: eyes, nose, mouth, deep shadows. Leave everything else white. In a photo editor, "Threshold" or "Posterize to 2 levels" does the same.
STEP 3
Add bridges
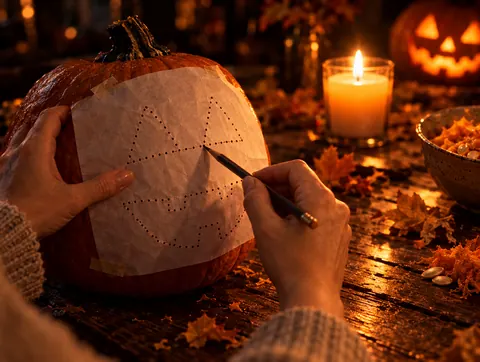
Find every white area surrounded by black and draw a white strip at least 4 mm wide connecting it to the outside. Without bridges, eyes and teeth fall out.
STEP 4
Print at pumpkin size
Scale the design to about two thirds of the pumpkin face: 10 cm wide for a 6 inch pumpkin, 14 cm for 8 inch, 18 cm for 10 inch.
STEP 5
Test it with light
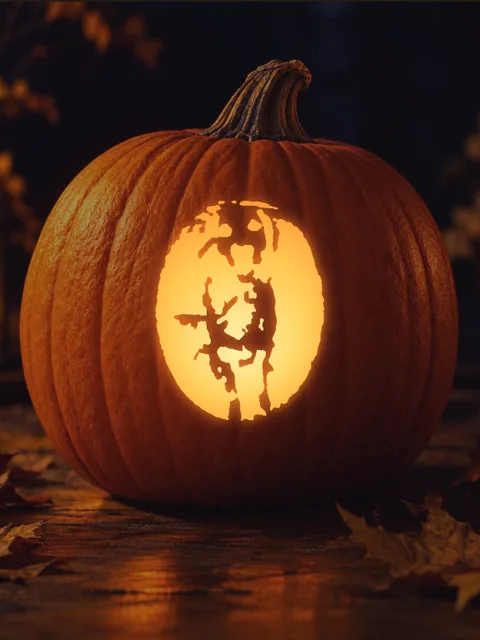
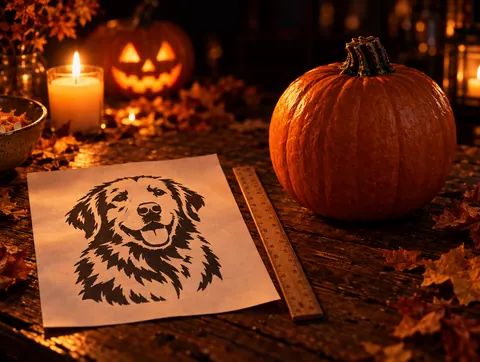
Hold the print up to a lamp. Dark areas are what will glow. If the face is not recognizable, darken the eyes and nose and simplify the rest.
Classic trace vs AI redraw
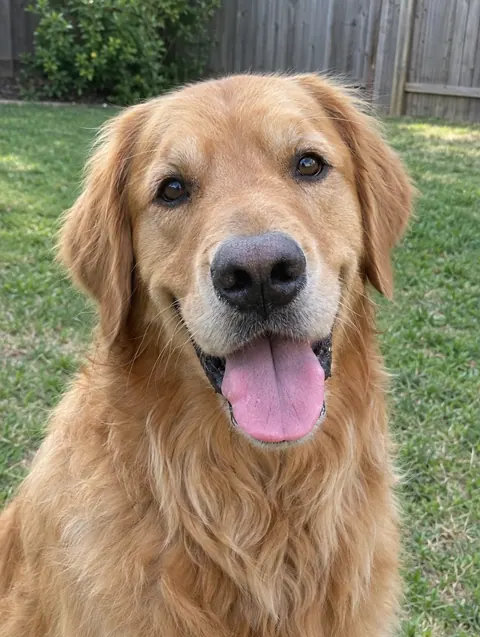
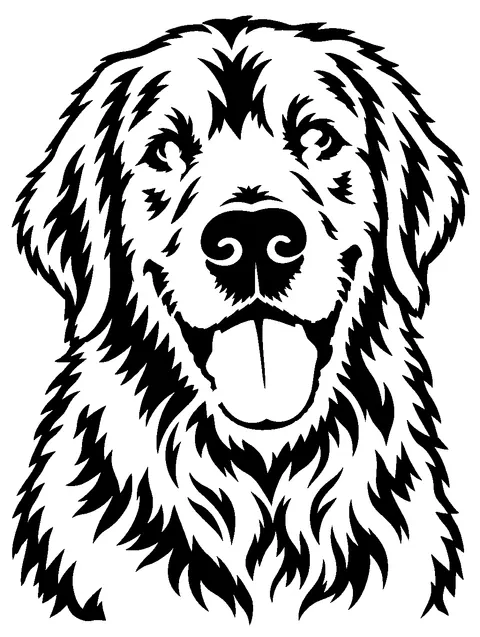
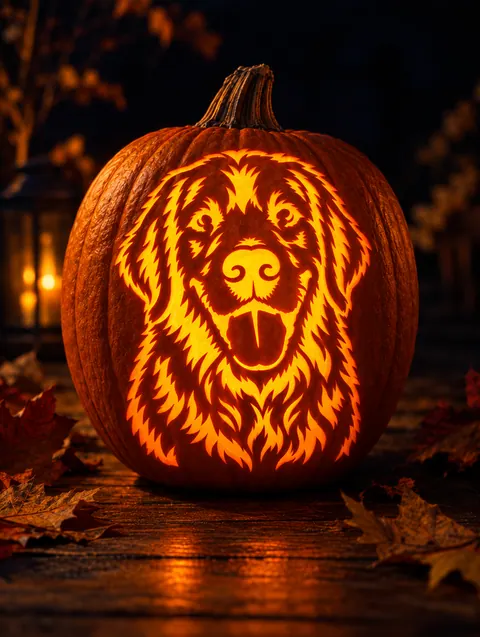
| Classic (free) | AI likeness (10 credits) | |
|---|---|---|
| How it works | Threshold trace of your photo in your browser | Redraws the subject as carving shapes |
| Best for | High-contrast photos, silhouettes, logos you own | Pets, faces, busy or low-contrast photos |
| Likeness | Depends on lighting | Keeps eyes, nose, markings recognizable |
| Bridges and PDF | Yes | Yes |
| Sign-up | No | Free account, 10 free credits (1 AI stencil) included |
Make a stencil with a Cricut
Export the stencil as PNG from our maker, upload it to Design Space, use "Remove background" and cut it from stencil vinyl or cardstock. A reusable cardstock stencil is handy if you carve the same design every year. Annual members can also export SVG.
Want your own design?
Drop a photo of your pet, your kids or your own pumpkin. AI turns pets and faces into a stencil that looks like them, shows any design carved on your pumpkin, or traces a logo for free.
Frequently asked questions
How do I turn a picture into a pumpkin stencil?
Upload it to a photo to pumpkin stencil tool, choose a difficulty, check the lit preview and download the PDF. By hand: trace the darkest shapes in black on tracing paper and add bridges.
What makes a photo good for a pumpkin stencil?
One clear subject, close-up, facing the camera, with strong light and a plain background. Avoid tiny details and busy backgrounds.
Can I make a pumpkin stencil for free?
Yes. Classic mode in our maker is free and unlimited with no sign-up, and every gallery stencil is free to print.
What size should a homemade stencil be?
About two thirds of the pumpkin face. Our PDFs offer small (10 cm design), medium (14 cm) and large (18 cm).
Why does my stencil look like a blob?
The photo has too little contrast or too much background. Crop to the face, use "Focus on the subject", or switch to AI mode, which redraws the subject instead of tracing light and dark.
Can I make a stencil of a cartoon character?
For personal use you can trace your own drawing, but we do not provide copyrighted character stencils. Our gallery is all original designs.