Advanced guide · shading
3-Tone Pumpkin Carving: How to Shade a Pumpkin
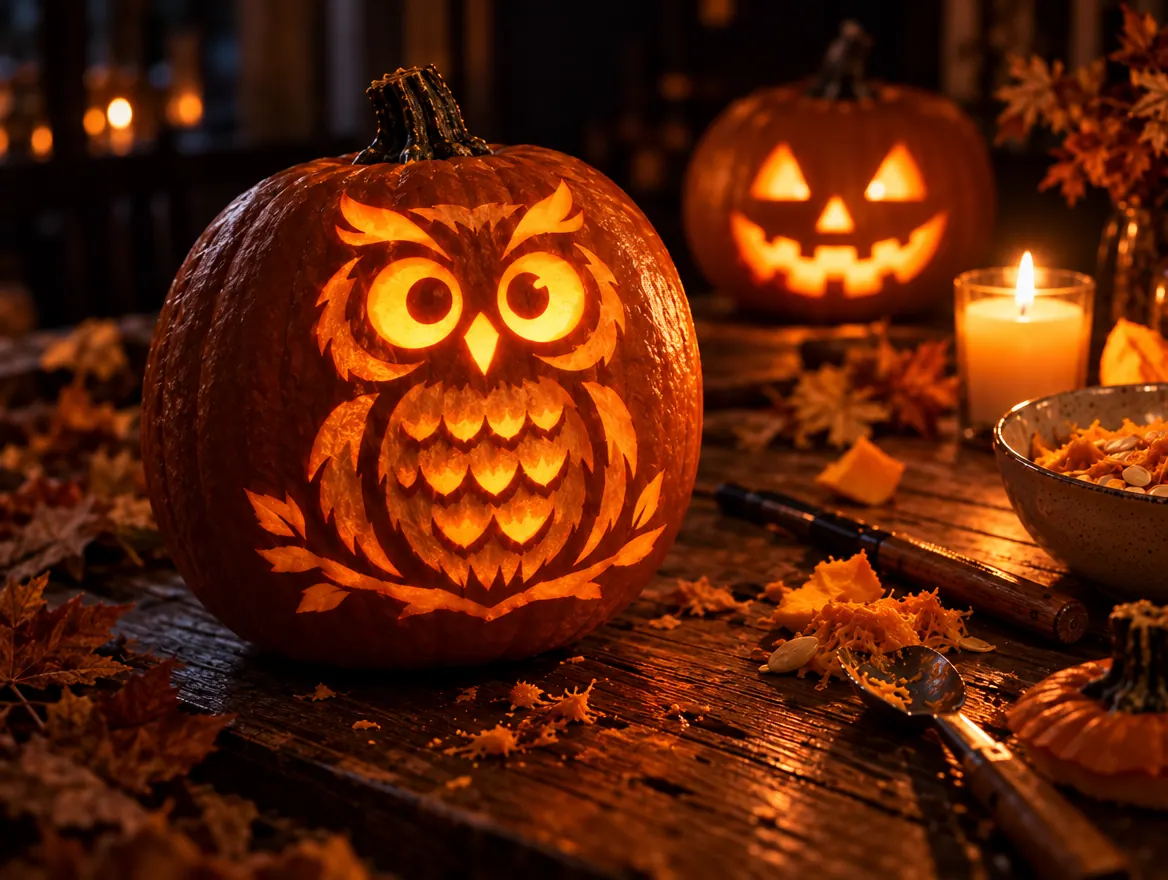
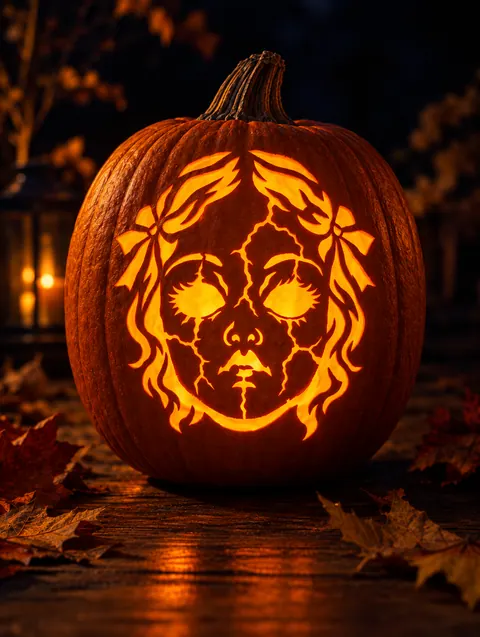
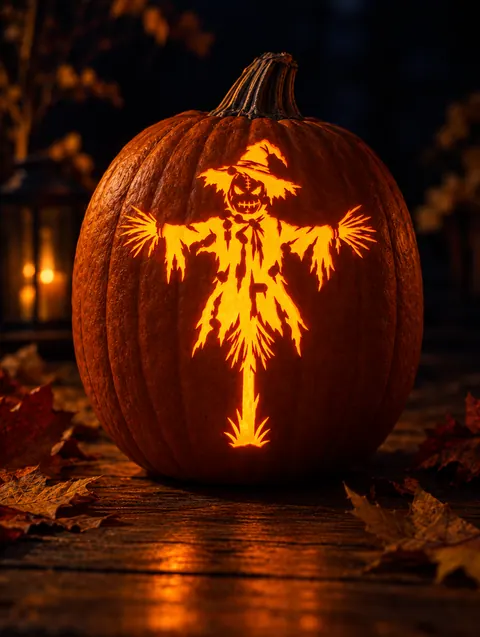
Three-tone carving uses three levels of light: black areas are cut through and glow brightest, gray areas are scraped thin and glow softly, white areas keep the skin and stay dark. With a loop tool and a three-tone stencil, you can carve faces, fur and depth that one-tone stencils cannot show.
Updated · by the PumpkinStencil team
Tools for shading
- Clay loop tools for scraping skin in smooth strokes.
- A small serrated saw for the cut-through areas.
- A linoleum cutter or rotary tool (optional) for fast, even shading on big pumpkins.
- A bright LED light to check the glow as you go.
Step-by-step
STEP 1
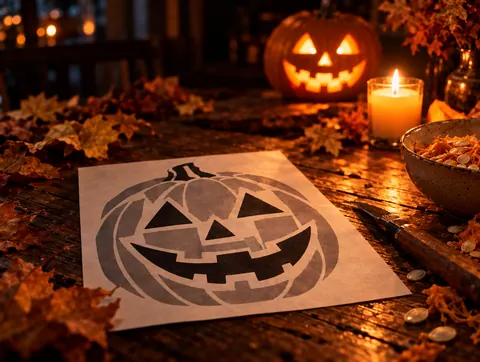
Pick a three-tone stencil
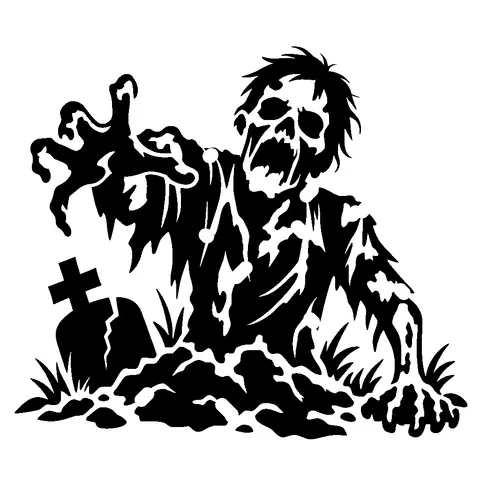
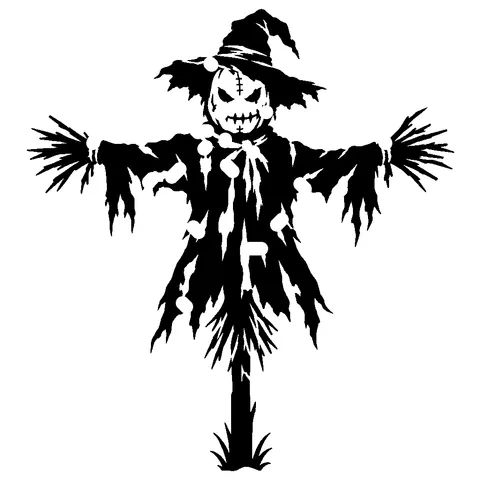
Start with a design that has large gray areas, not tiny ones. Try a hard design from the gallery.
STEP 2
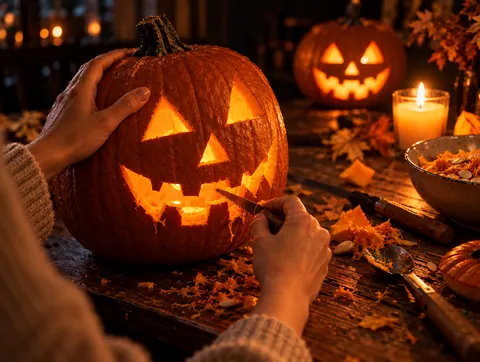
Cut the black areas first
Saw out every black shape while the pumpkin is still strongest.
STEP 3
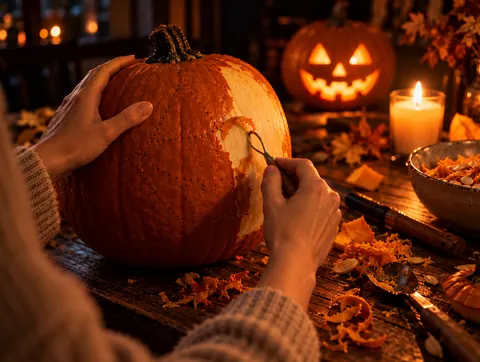
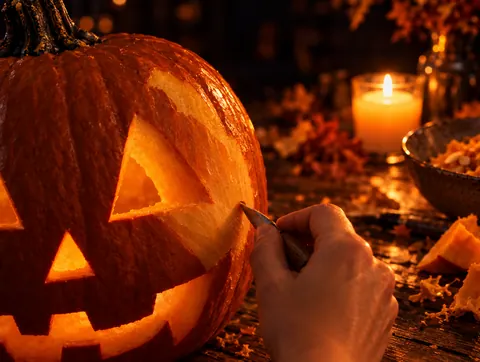
Scrape the gray areas
Use a loop tool to peel off the orange skin and a few millimetres of flesh. Stop when it turns pale yellow.
STEP 4
Build the gradient
Scrape deeper where you want more light. About 1 cm of flesh left glows softly, 5 mm glows almost as bright as a hole.
STEP 5
Check with the light on
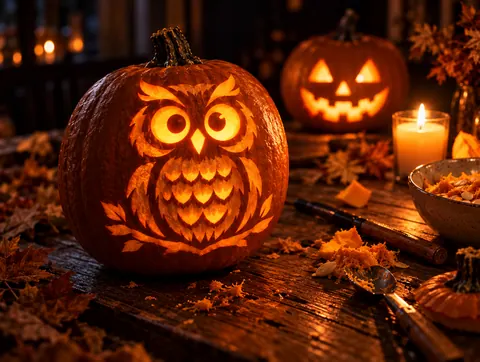
Turn off the room lights and look from a few steps back. Scrape more where the shading looks flat.
Designs that suit shading


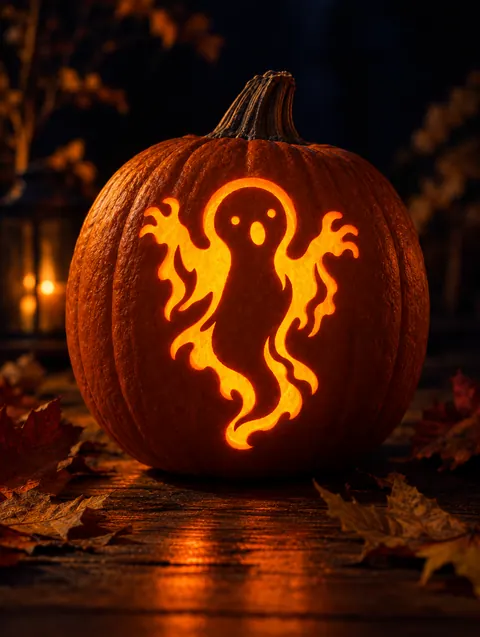



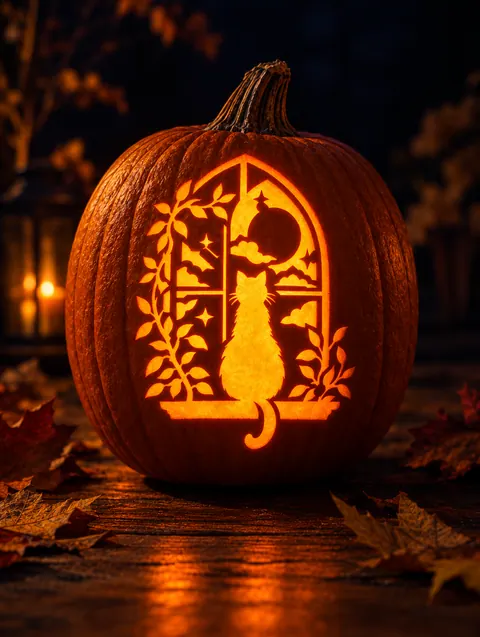
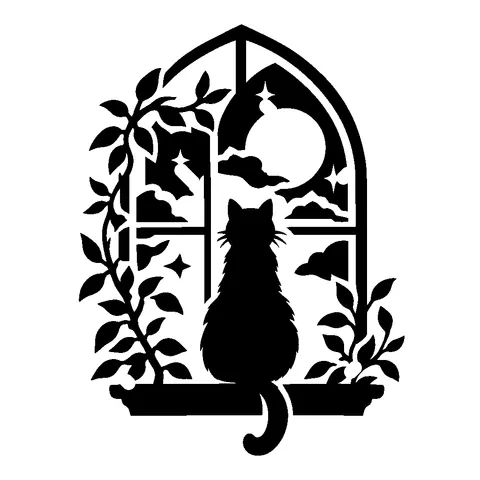
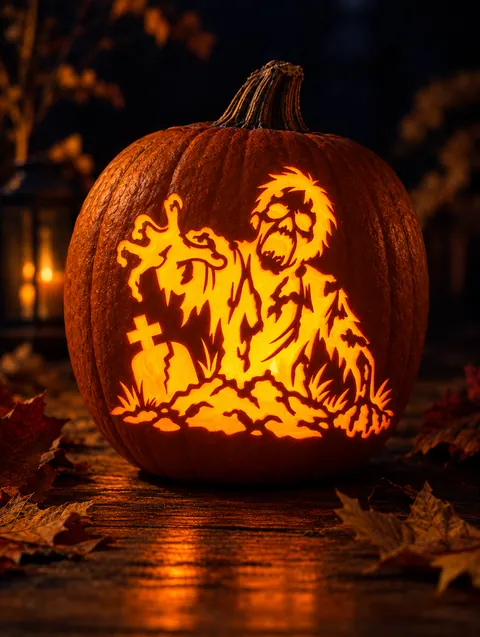


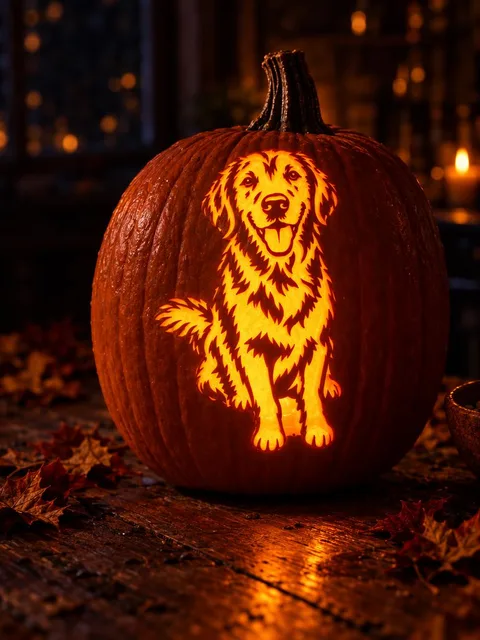 AI likeness
Thick pumpkins shade best
Pick a heavy pumpkin with a thick wall. Thin-walled pumpkins have no flesh to scrape into, so gray areas break through.
Want your own design?
Drop a photo of your pet, your kids or your own pumpkin. AI turns pets and faces into a stencil that looks like them, shows any design carved on your pumpkin, or traces a logo for free.
Frequently asked questions
What is 3-tone pumpkin carving?
A technique with three light levels: cut-through holes, scraped areas that glow softly and untouched skin that stays dark.
How deep should I scrape for shading?
Remove the skin and leave roughly 0.5 to 1 cm of flesh. Less flesh means more light.
What tool is best for pumpkin shading?
Clay loop tools are the easiest to control. A rotary tool is faster on large areas but needs a steady hand.
Is 3-tone carving hard?
It is slower than a regular carve but not difficult. Start with a design that has large shading areas.
Can I make my own three-tone stencil?
Start from a two-tone stencil from our maker, then shade gray areas by hand with a pencil where you want soft light, such as cheeks, fur or shadows.
Does petroleum jelly help shaded pumpkins last?
Yes. Scraped areas dry out fastest, so coat them lightly and keep the pumpkin cool.