Carving guide · 5 steps
How to Use a Pumpkin Stencil
To use a pumpkin stencil, print it at the size of your pumpkin, tape it flat to the skin, poke small holes along every line, peel the paper off and carve from dot to dot. Cut out the black areas, keep the white. It takes about 45 minutes for an easy design.
Updated · by the PumpkinStencil team
What you need
- A printed stencil. Grab one from the free stencil gallery or turn your own photo into one.
- A pumpkin with a smooth, flat-ish face. Tap it: a hollow sound means a thinner wall that is easier to carve.
- A small serrated saw, a poke tool (a push pin or toothpick works), a scoop and tape.
- Flour or a washable marker to make the dotted outline easier to see.
Step-by-step
STEP 1
Print the stencil at the right size
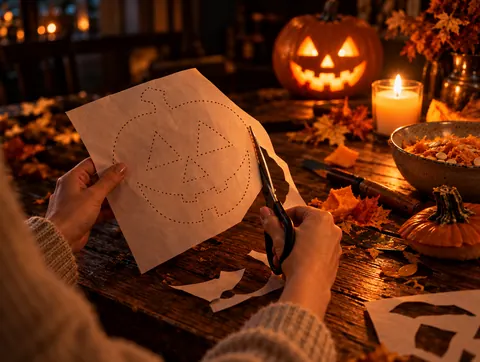
Measure the flattest face of your pumpkin. Print small (about 10 cm wide) for 6 inch pumpkins, medium for 8 inch and large for 10 inch. Our PDFs have a 5 cm scale bar: if it measures 5 cm, you printed at 100%. Trim the paper close to the design so it bends around the curve.
STEP 2
Cut the lid and scoop the inside
Cut the lid at an angle so it does not fall in, or cut a hole in the back instead. Scrape the wall behind the design down to about 2.5 cm (1 inch). A thinner wall is easier to cut and glows brighter.

STEP 3
Tape the stencil flat
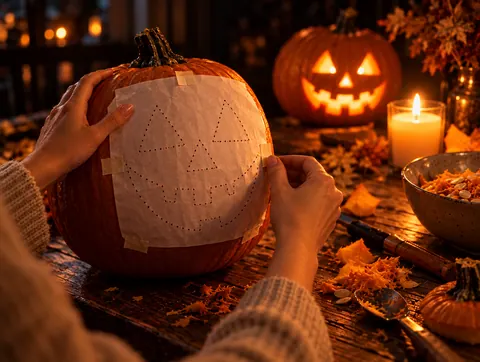
Tape the top edge first, then make small cuts in the paper margin so it lies flat over the curve without wrinkling the design. Wrinkles shift lines, so take a minute here.
STEP 4
Poke along every line
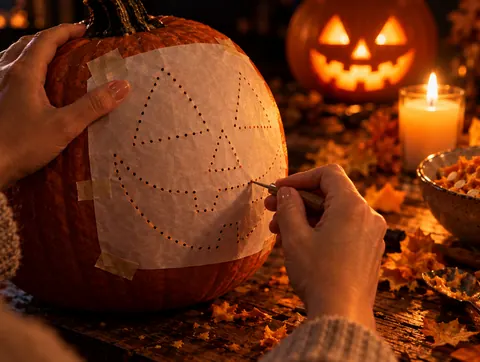
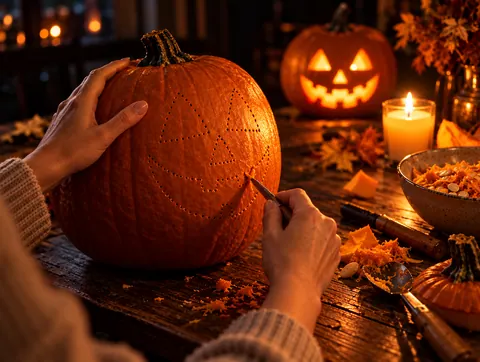
Press a poke tool through the paper along each edge, about 3 mm (1/8 inch) apart. Closer dots on tight curves, wider on long straight edges. Do not cut through the paper with a knife: it slides and tears.
STEP 5
Peel the paper and carve dot to dot
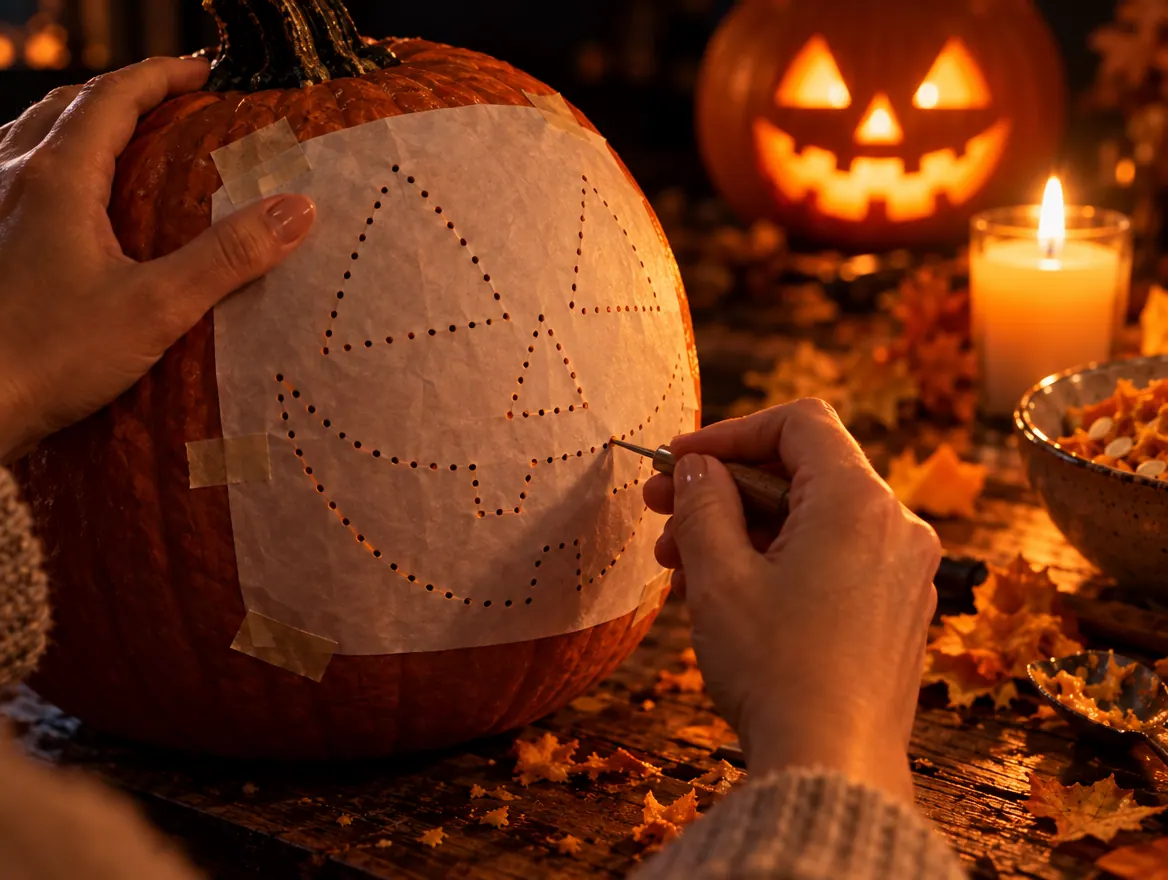
Rub flour over the dots so they show up, keep the paper next to you as a map, and saw from dot to dot. Cut the smallest, centre pieces first and the big outer shapes last so the pumpkin stays strong while you work.
Which part of the stencil do you cut out?
On almost every pumpkin stencil, including ours, black means cut out and white means leave the skin. Light comes through the black areas. A few older pattern books use the opposite, so check the key printed on the page. On three-tone stencils, gray means scrape the skin thin without cutting through. More detail in do you cut the black or white.

Tips that save a carving
- Hold the saw like a pencil and move it straight in and out. Twisting snaps thin bridges.
- Push pieces out from the inside with a finger instead of pulling them with the saw.
- Keep the white bridges. If a white piece has no connection to the rest of the skin, it will fall out. Our stencil maker finds those pieces and adds bridges before you print.
- Slow down at corners. Stop, pull the blade out and start again from the new direction.
- Make it last. Rub petroleum jelly on the cut edges and keep the pumpkin out of direct sun; a carved pumpkin usually lasts 3 to 5 days.
Other ways to transfer a stencil
| Method | Best for | How |
|---|---|---|
| Poke and dot | Most designs | Push pin or poke tool through the paper every 3 mm, rub flour over the dots. |
| Carbon or transfer paper | Very detailed designs | Place transfer paper under the stencil and trace the lines with a pen. |
| Draw freehand | Easy faces | Copy the stencil with a washable marker, then wipe away mistakes with a damp cloth. |
| Glue stick on the paper | Kids, no tape mess | A thin layer of glue stick holds the paper flat; peel and rinse after poking. |
Need a stencil?
Browse 150 free printable designs, or turn a photo of your dog, cat or family into one you can actually carve.
Make a stencil from a photoWant your own design?
Drop a photo of your pet, your kids or your own pumpkin. AI turns pets and faces into a stencil that looks like them, shows any design carved on your pumpkin, or traces a logo for free.
Frequently asked questions
How do you put a stencil on a pumpkin?
Tape the printed stencil flat on the smoothest face, cutting small slits in the paper margin so it follows the curve. Then poke along every line, peel the paper off and carve along the dots.
Do you cut out the black or the white on a pumpkin stencil?
Cut the black areas and keep the white as pumpkin skin. Gray on three-tone stencils means scrape the skin thin without cutting through.
What can I use instead of a poke tool?
A push pin, a thumbtack, a toothpick, a wooden skewer or the tip of a ballpoint pen all work. Space the holes about 3 mm apart.
How do I keep the stencil from slipping?
Tape all four sides, snip the paper margin so it lies flat, and work on a damp towel so the pumpkin does not roll.
Should I carve before or after scooping?
Scoop first. Thinning the wall to about 1 inch before you carve makes cutting easier and keeps you from pushing on a design that is already cut.
Can kids use pumpkin stencils?
Yes. Pick an easy stencil, let kids tape and poke the dots, and have an adult do the sawing or use a kids carving set with rounded tools.
How long does it take to carve a stencil?
About 30 to 45 minutes for an easy design, an hour for medium and two or more hours for a detailed or three-tone design.